
Interactive Wall – Supplementary Materials
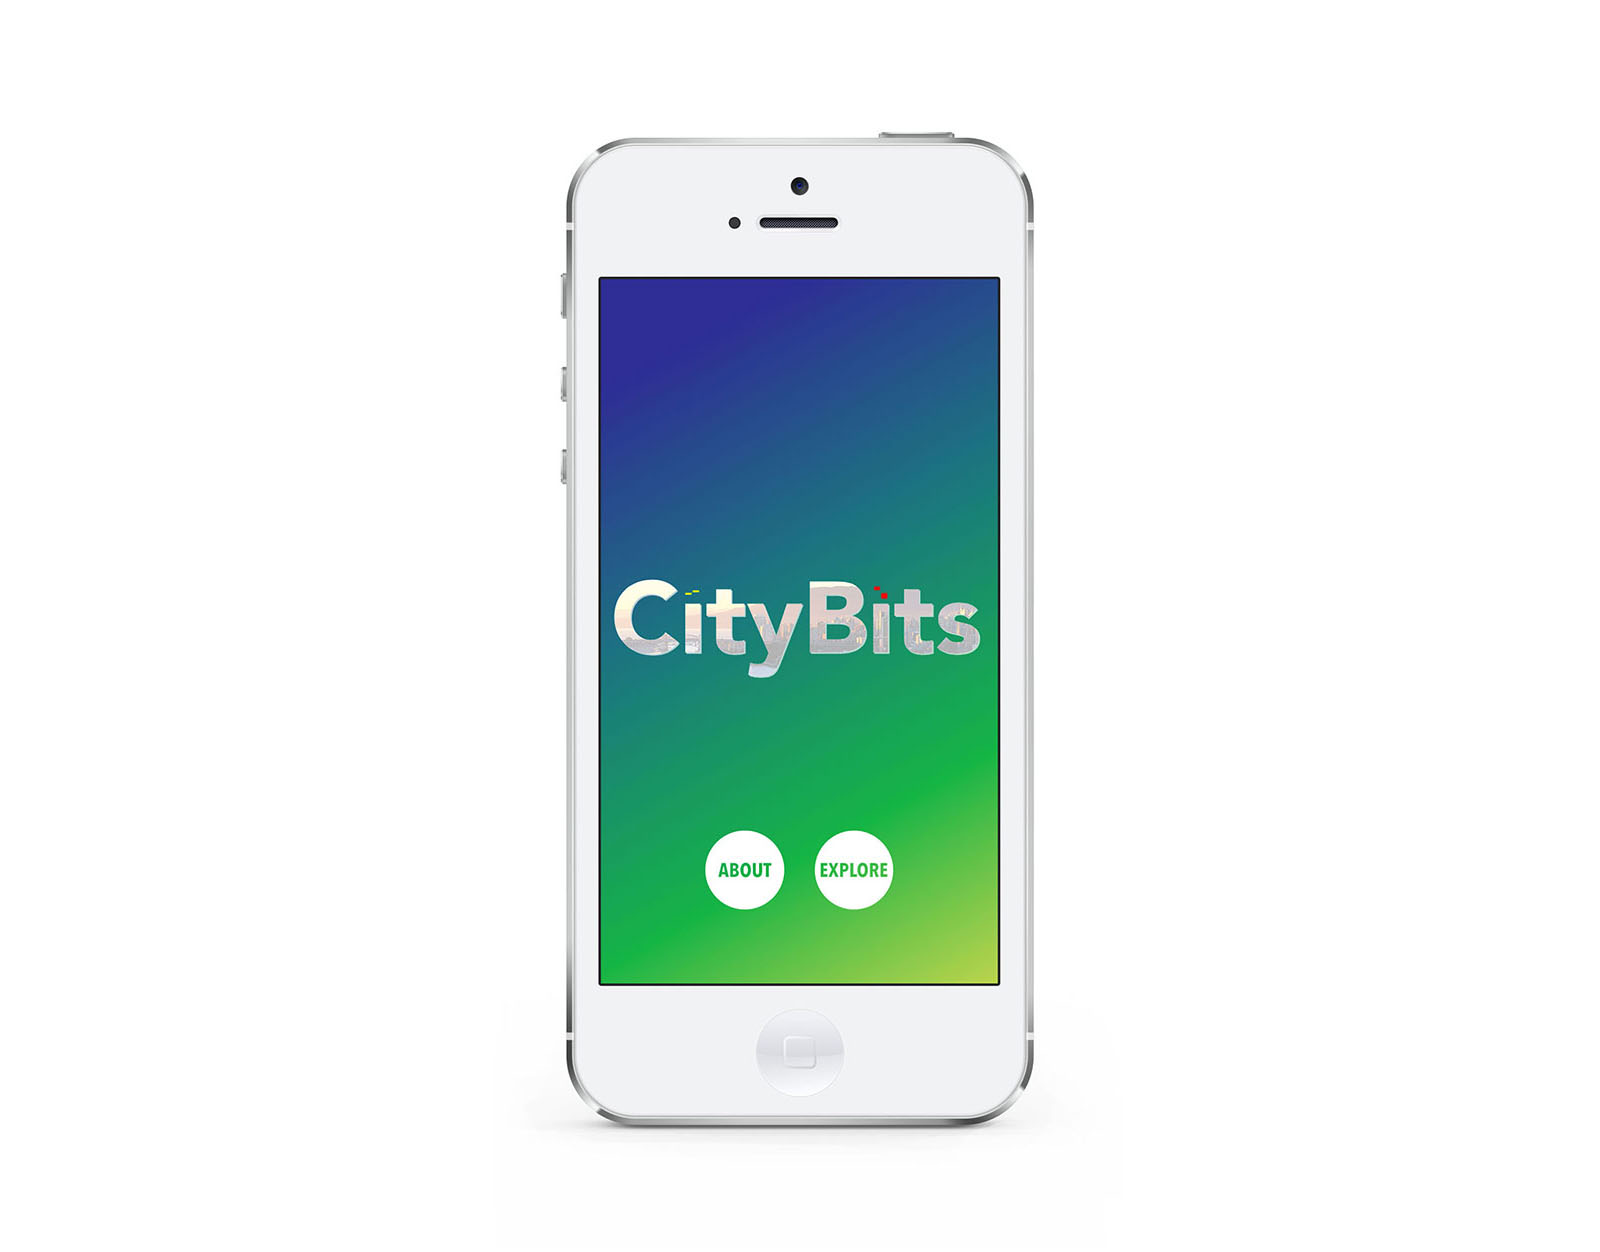
Thank you for reviewing our submission for the Vancouver User Experience Awards. This page will introduce you to extra details about our submission – the Interactive Wall we built for the Indian Residential School History and Dialogue Centre.
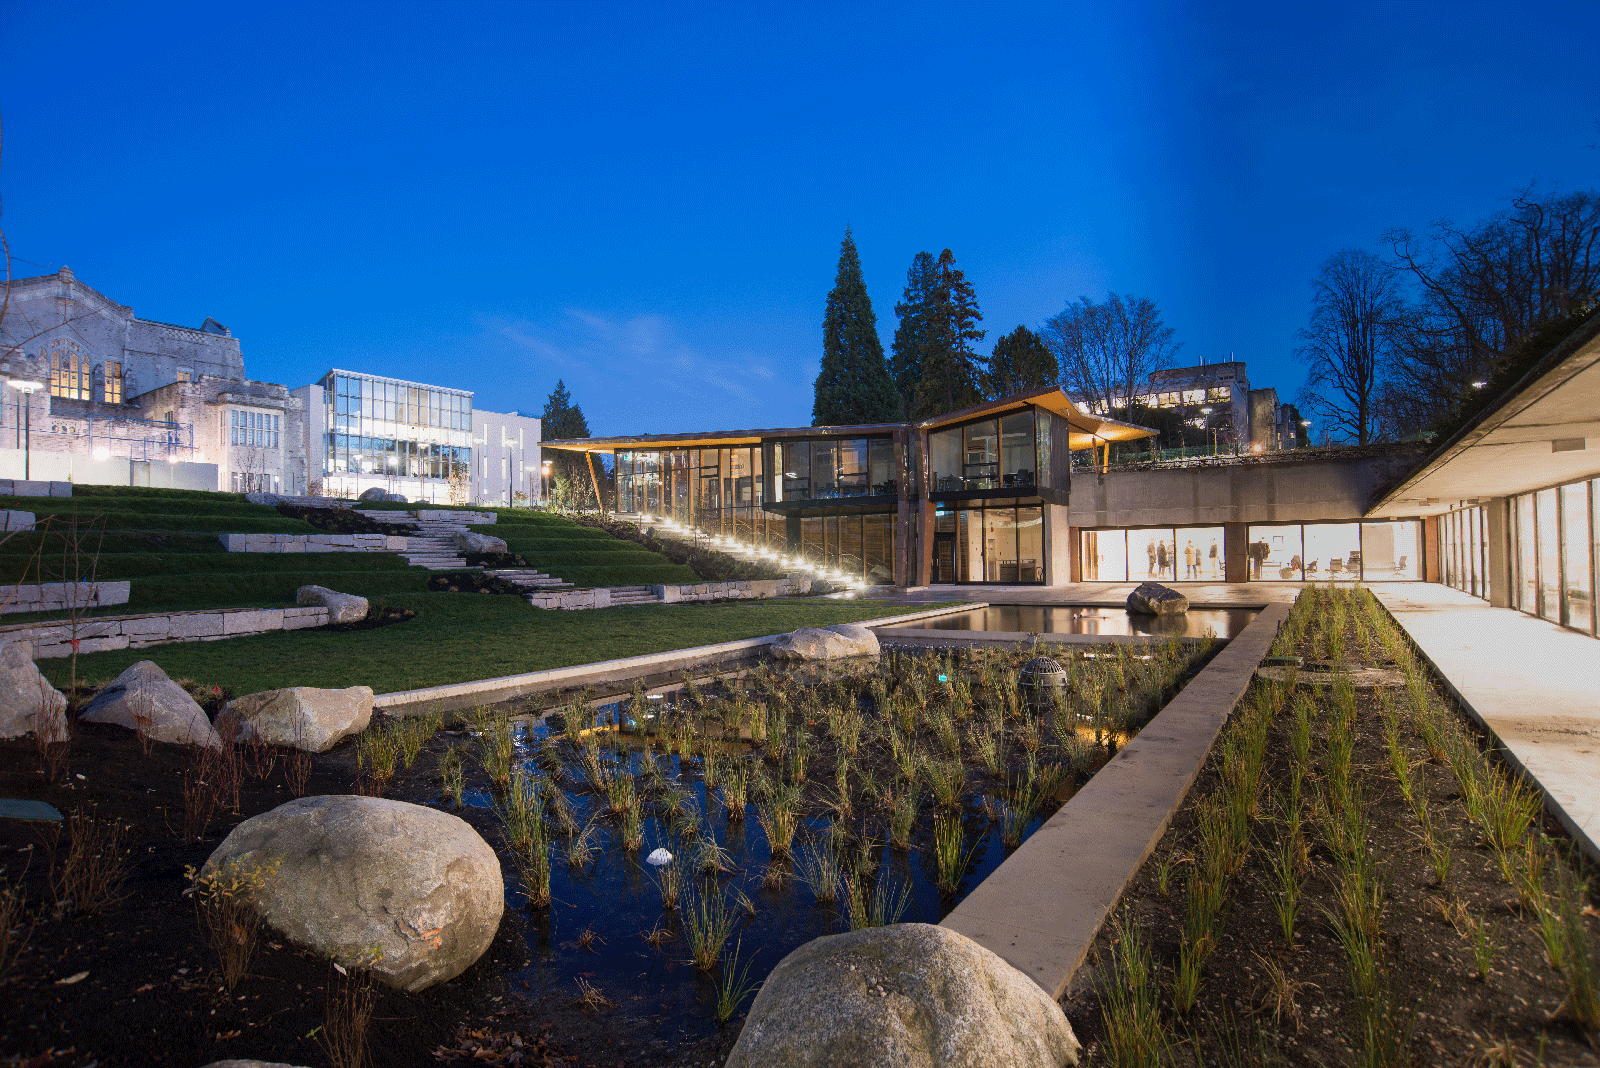
UBC's Residential School History and Dialogue Centre
Drawing on community engagement, emergent technologies, and creative and collaborative structures, the RSHDC aims to facilitate a variety of engagements and support informed dialogue and more transparent information practices, research and pedagogy. At the centre, visitors can explore exhibitions, browse the collections, listen to Survivors, attend events and learn about on-going legacy of residential schools in Canada.


Challenge
In 2017, Logic&Form answered a complex interactive design challenge issued by the IRSHDC. The project and general direction was described in detail throughout the call. Here we highlight a key quote from its Purpose / Function section:
"Our intention is not to provide visitors with a guided exposition of Indian residential school history, but to create opportunities for visitors to explore many types of documents, records, testimony, data and construct their own understanding and reach their own conclusions. Visitors to the Centre will have multiple avenues into the information sources; entry points may be geographic, temporal, visual, etc., and might include interactive maps, timelines, topic clouds, data visualizations, etc."
Solution
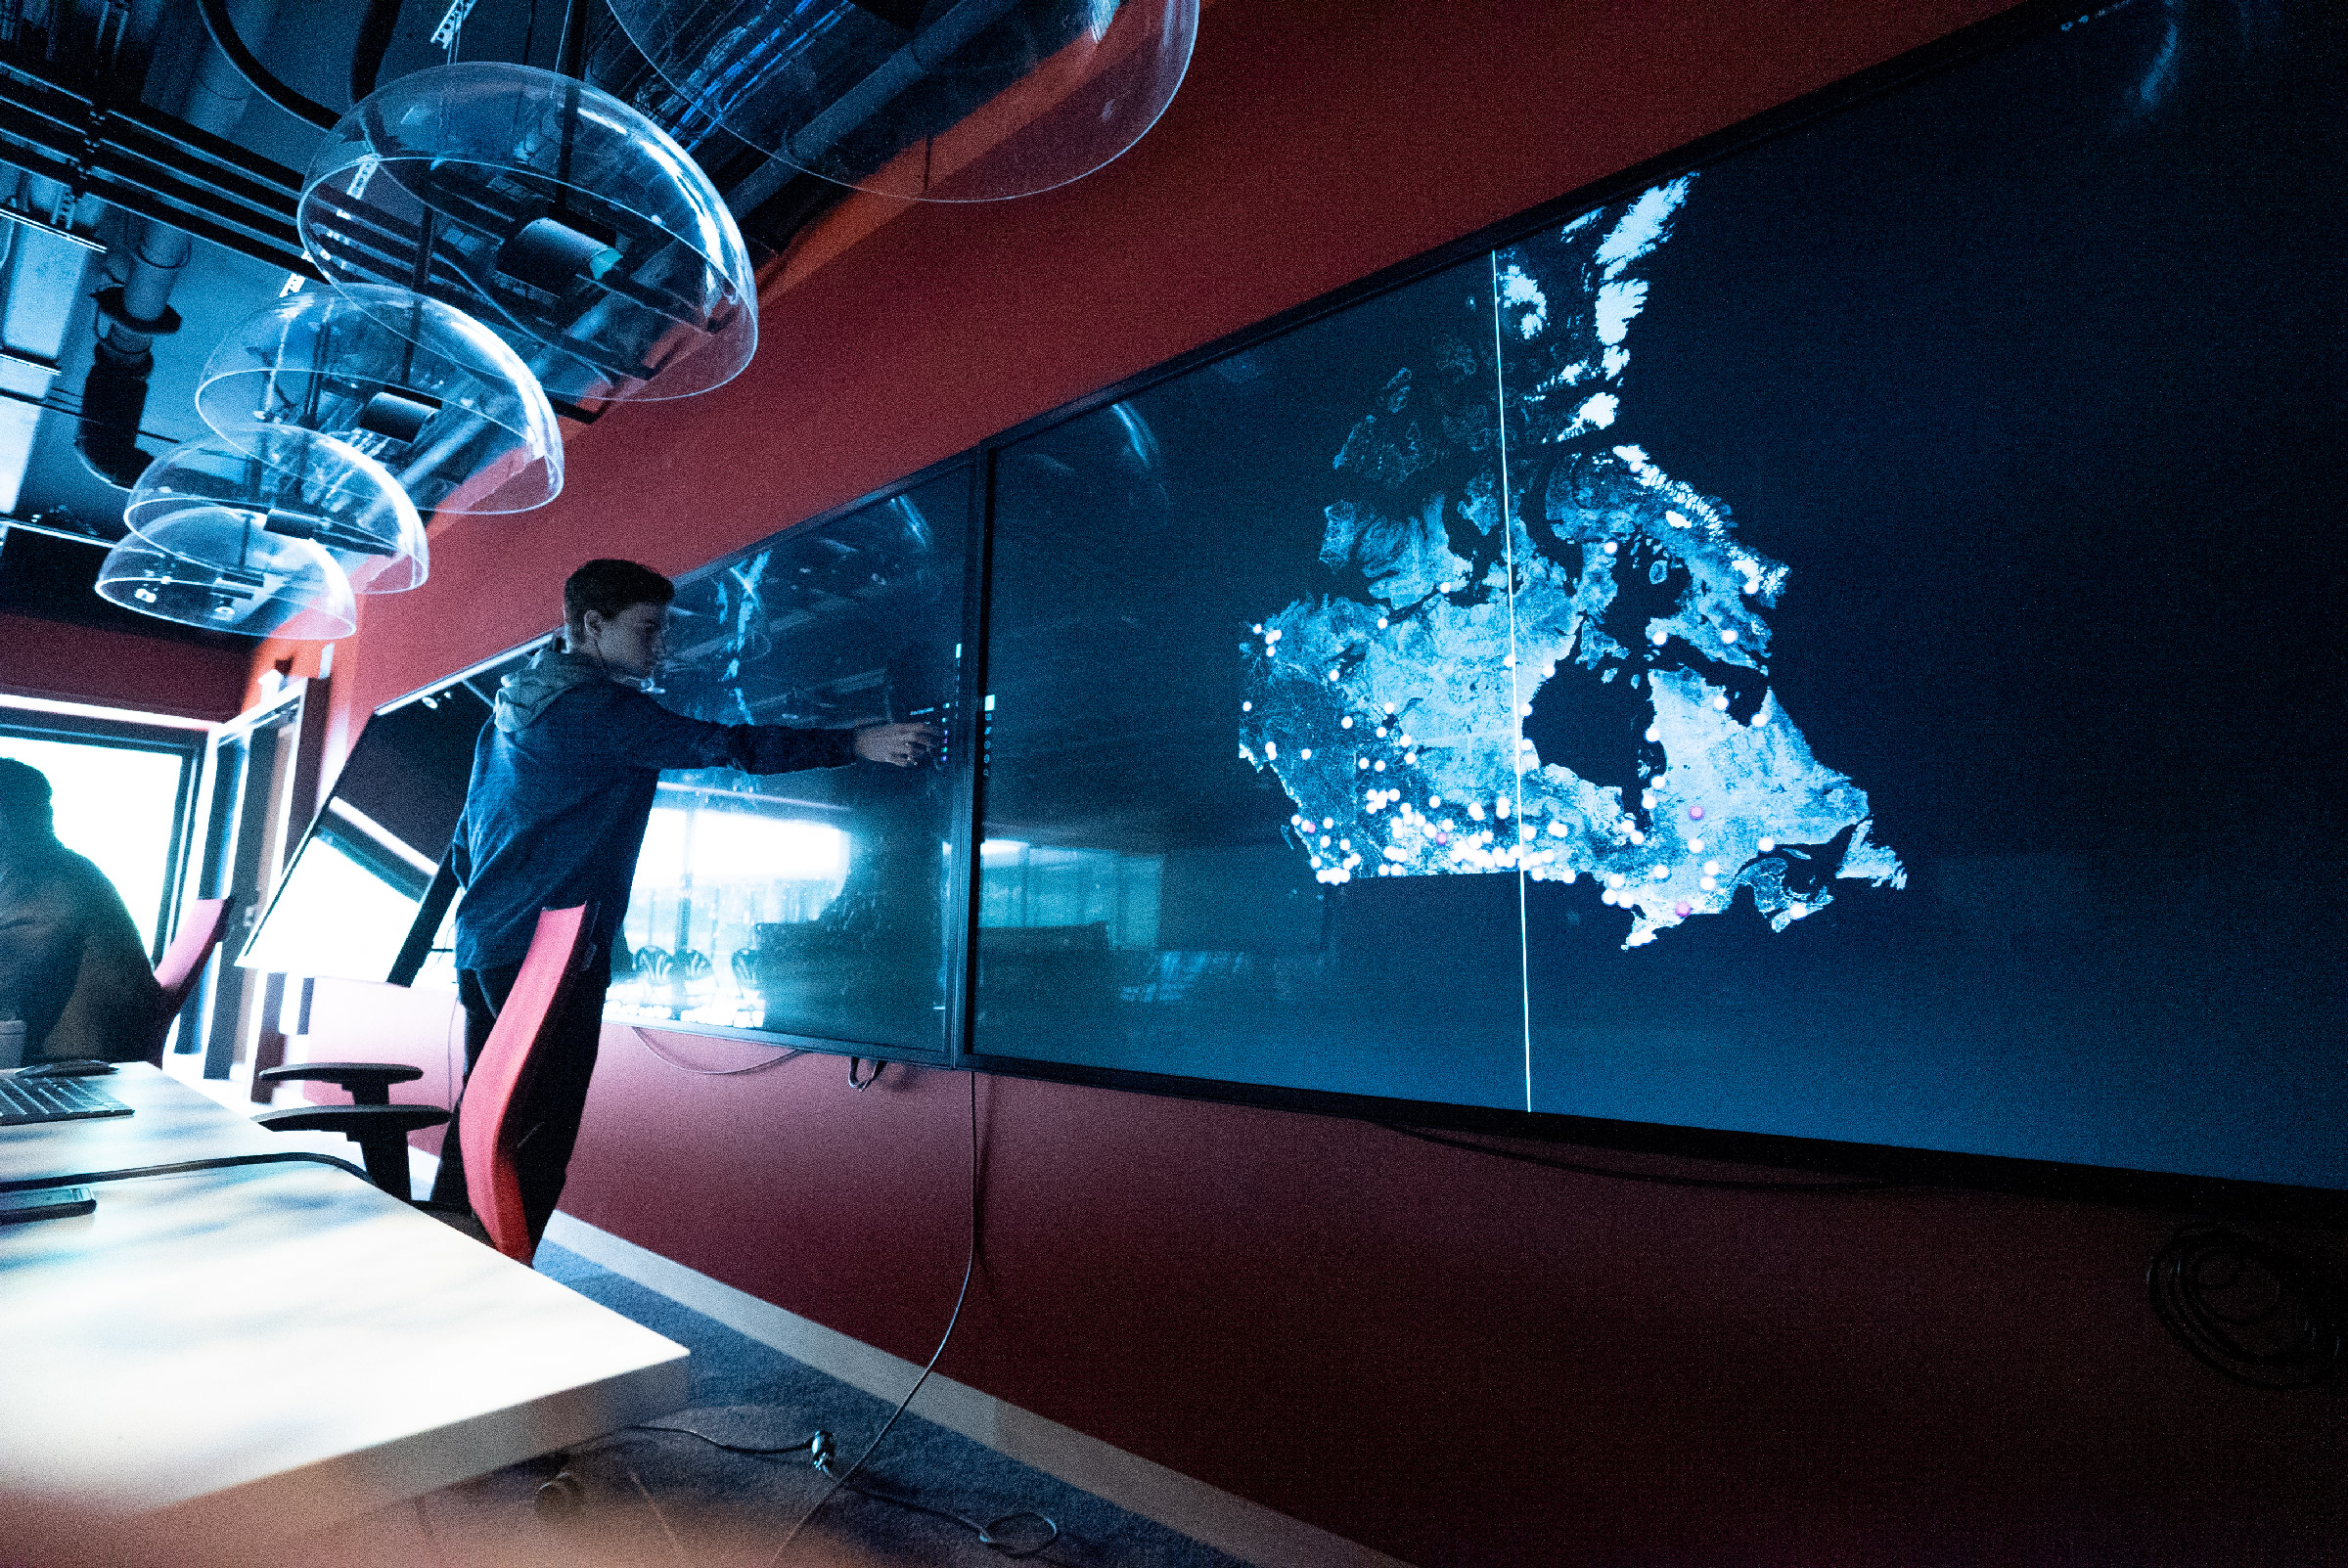
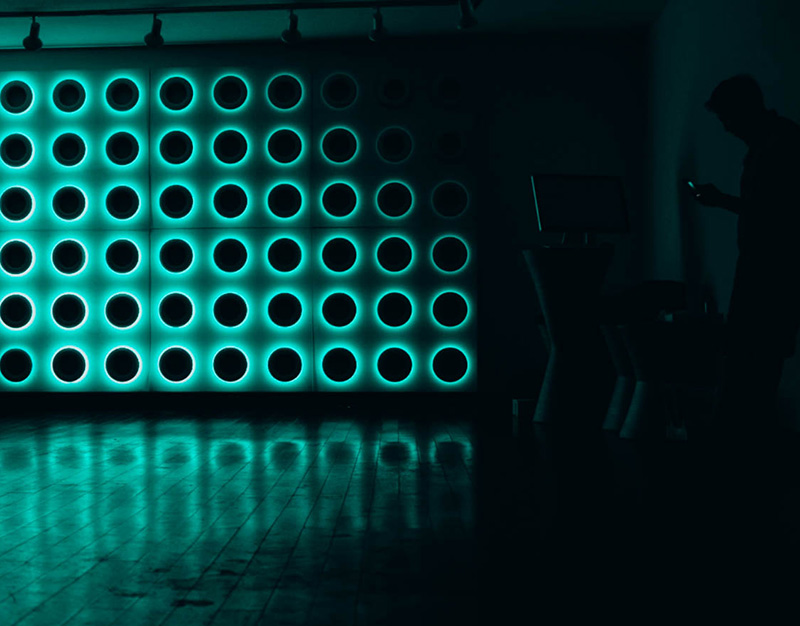
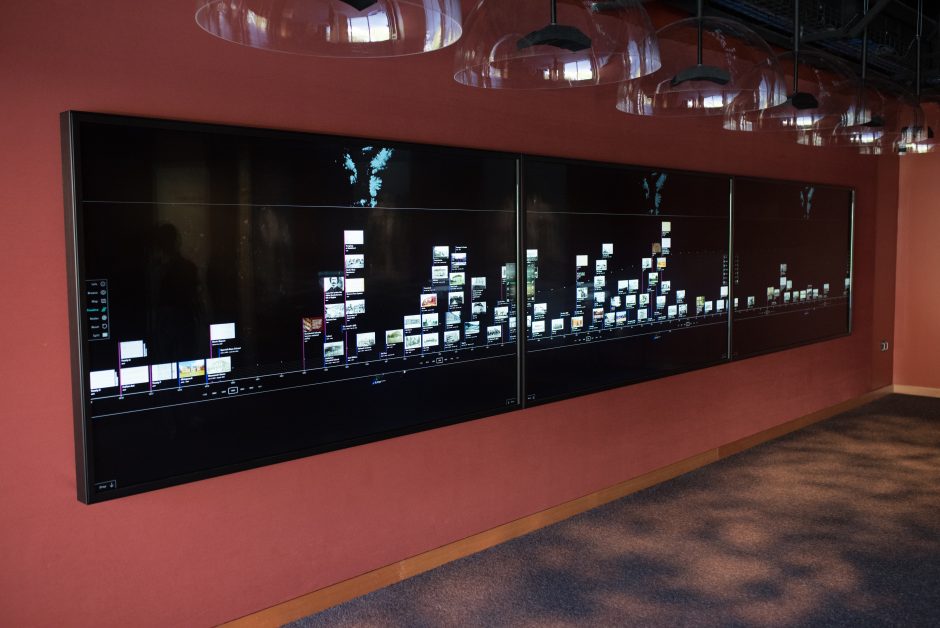
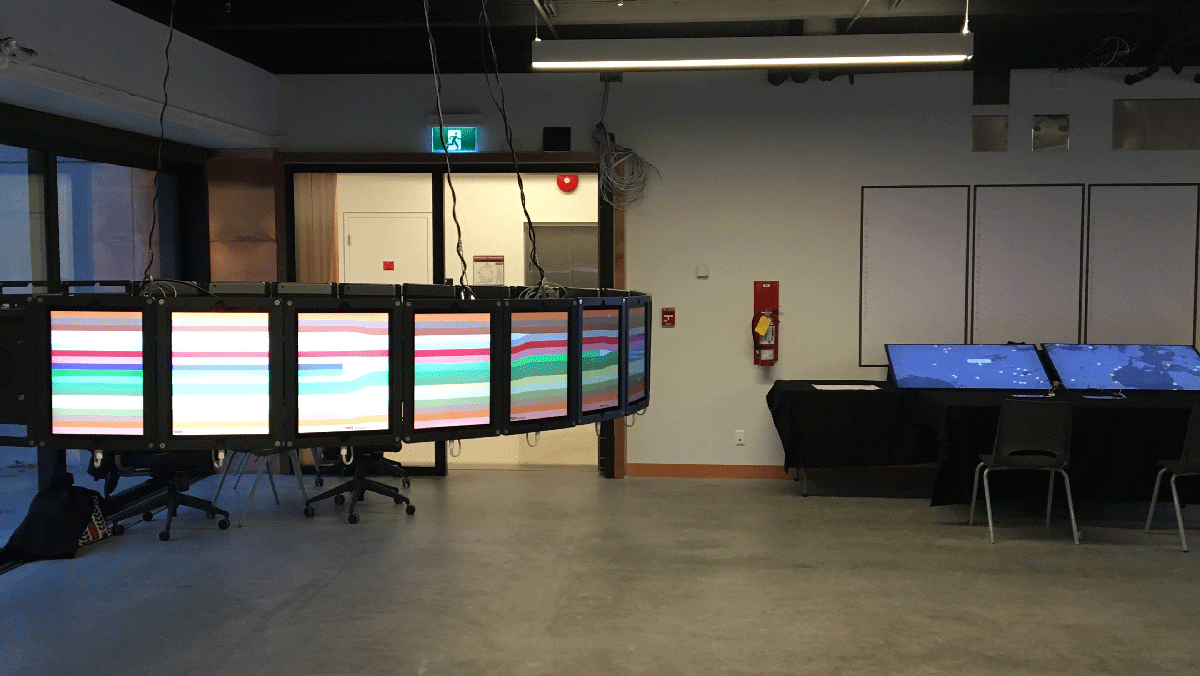
The Interactive Wall is comprised of 3 × 100" multitouch displays, with 6-channel audio (see the domes). the interface combines data visualizations (map, timeline, nodes) and browse-to-search functionality, with media presentation for Text, Images, Video, and PDF.
Project Timeline
The project officially started in the fall of 2017, we began with an in-depth user research phase combined with early prototyping and testing of hardware in the exhibition spaced. We developed a set of interactives, tested various display technologies, and held a demo week to gather feedback on potential directions.
By early 2018, an official direction for hardware, software, technical design and user experience was confirmed. In Spring of 2018, an early working prototype was shown to the public. Below are two videos of the alpha version / prototype that was shown in Spring 2018.
Throughout the summer and fall of that year work continued, designs were refined, software hardened and various iterations of physical installation were made. Our work concluded in mid-December, 2018, with a delivery of the final version of the installation. Since then, the client has been working daily to craft and add content to the wall.
Display Hardware
The hardware and system design are critical to the experience of working with the Interactive Wall. Throughout our application we mentioned that the choice of hardware was very important. A concrete example is the difference between two specific display technologies – touch displays and touch wall systems. The former being single-unit displays that have built-in touch sensors, while the latter are arrays of bezel-less displays around which an independent multitouch sensor is wrapped. The benefit of the wall system is an unbroken video surface, whereas the screens have bezels. The benefit of screens is that you can have up to 32 touches per screen, while the wall system allows for up to 20 touches for the entire wall. More fingers and higher touch resolution mean a better experience for the user.
Touch Latency
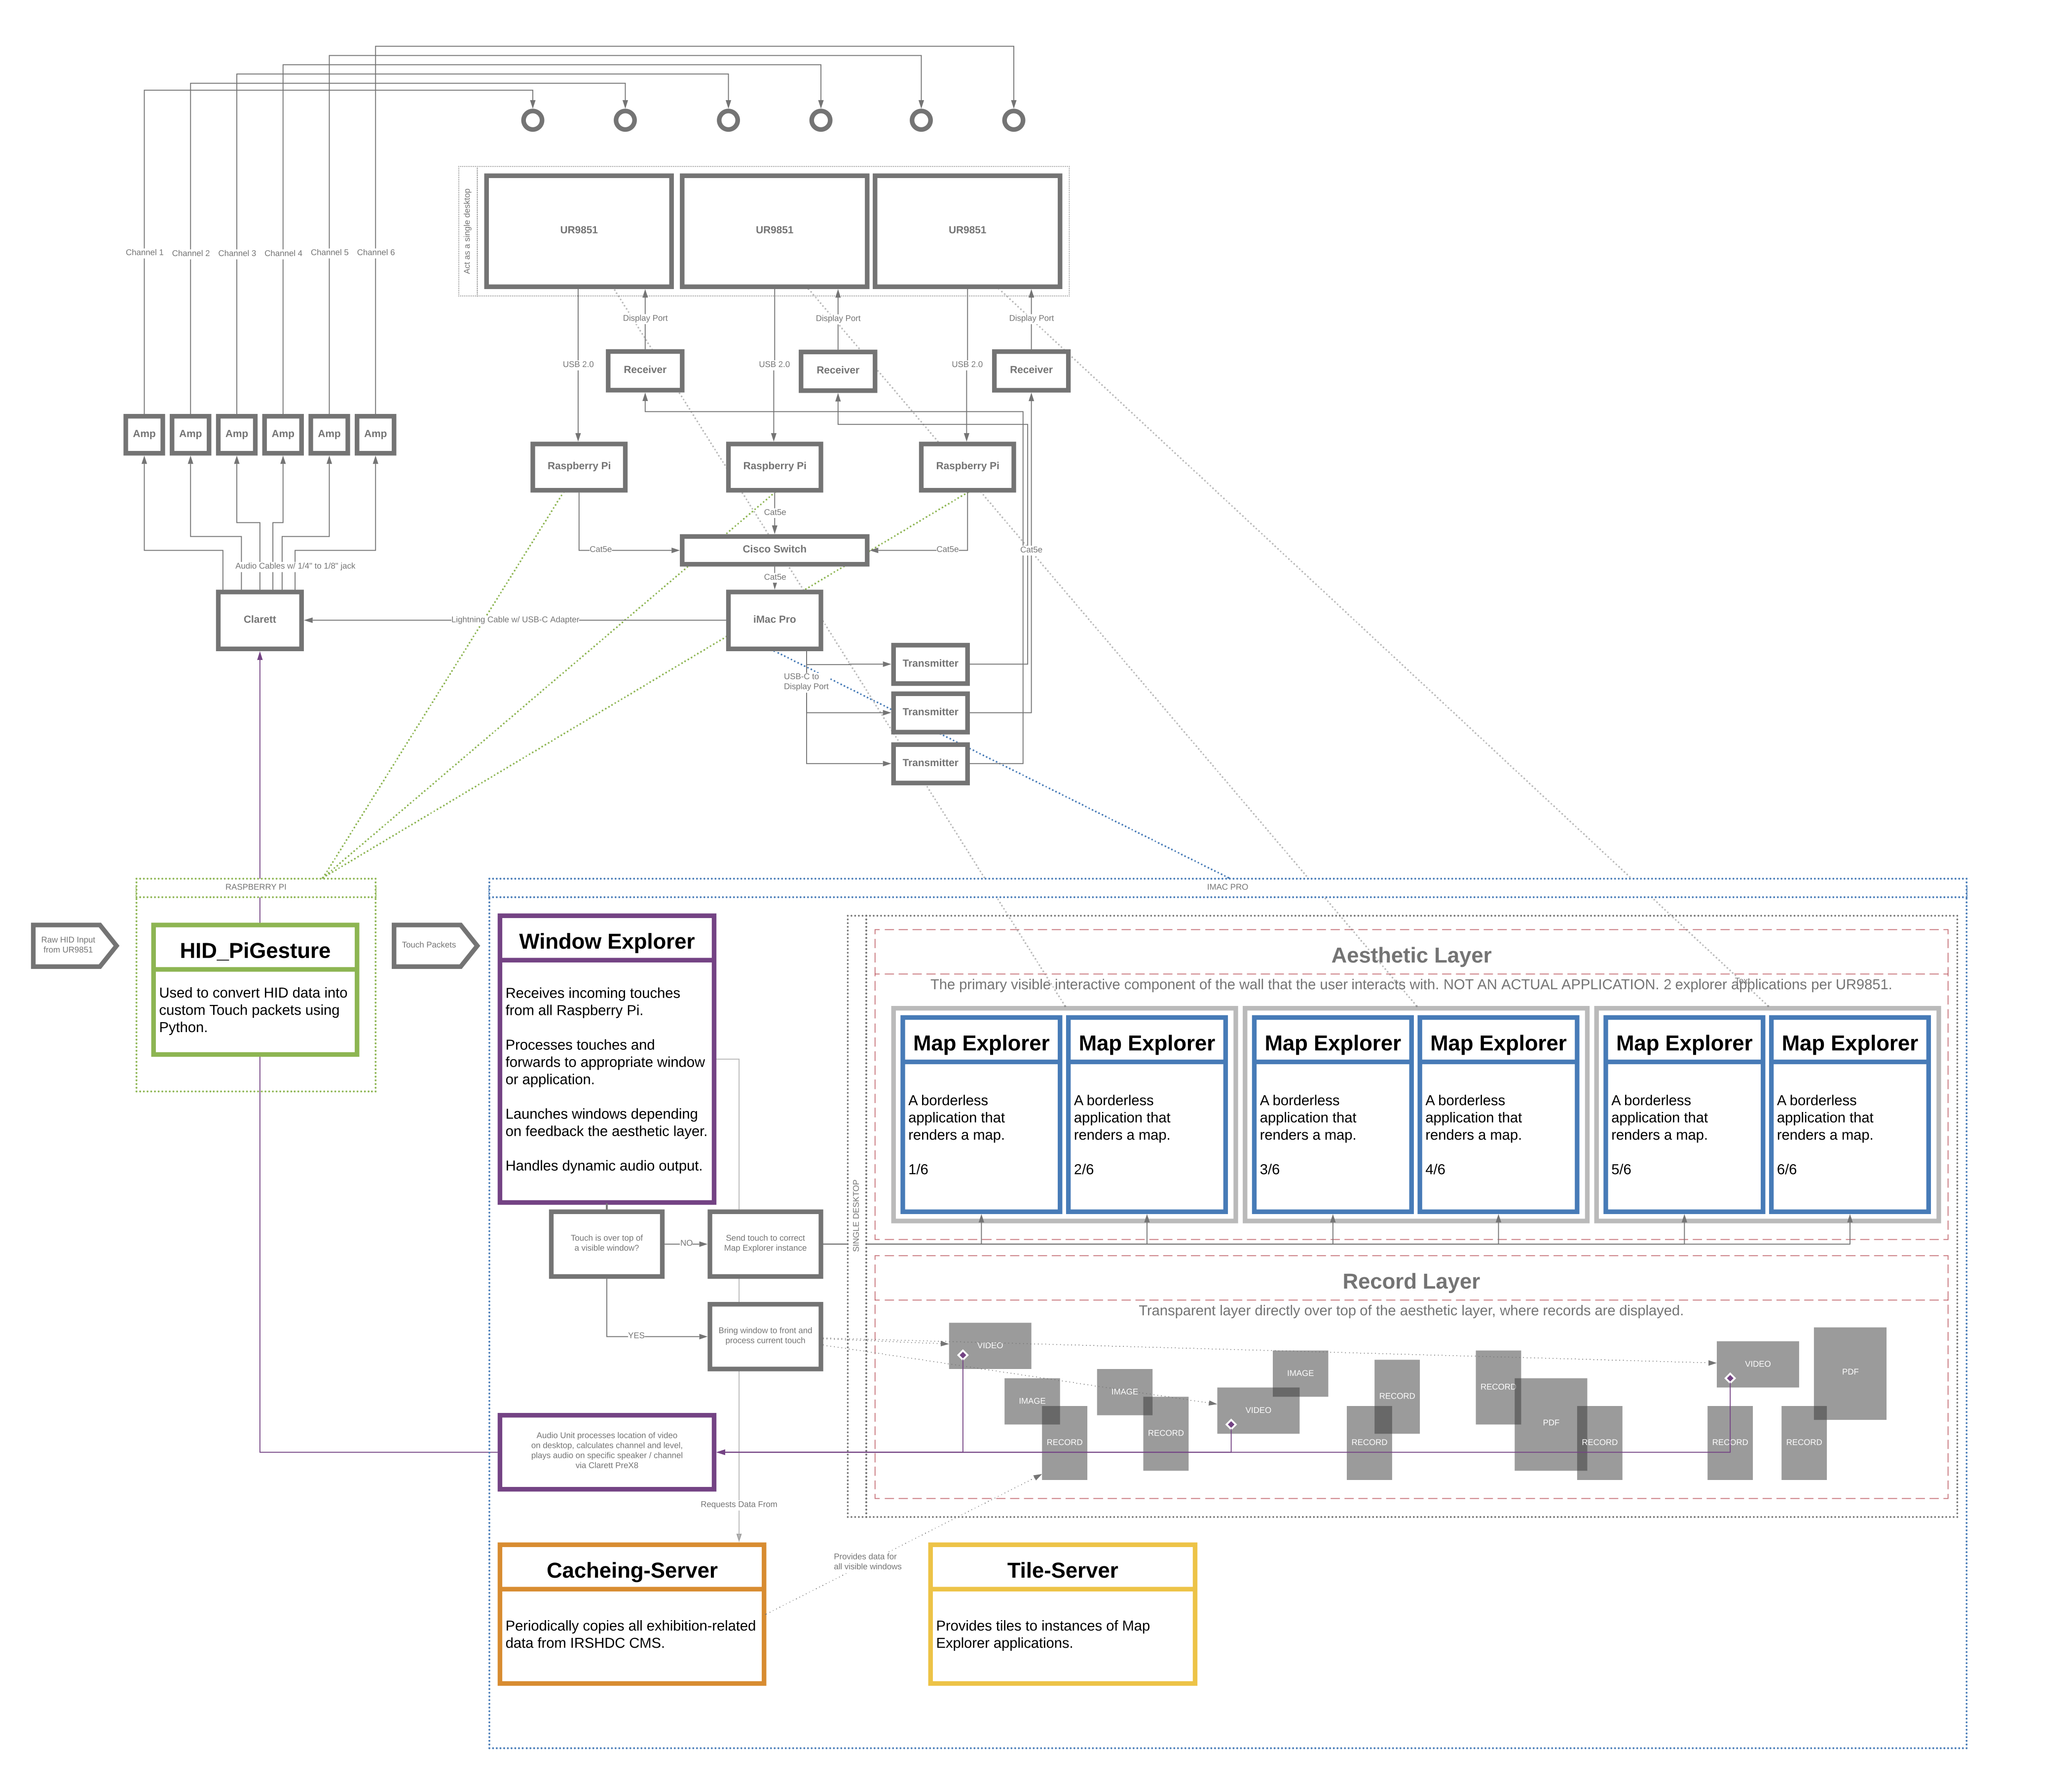
Another critical element of the hardware design that impacts user experience is the time between when a fingertip touches the screen and when the UI element it touches reacts. This latency can be slowed down by any number of hardware related issues. It can also be slowed by the computer processing raw touch data.
Our solution was threefold. First, instead of having the computer process raw data, we inserted a Raspberry Pi behind each display. The Pi was responsible for taking in raw HID data and converting it to touch packets. This approach alleviated thousands of computations per second from the computer driving the installation. Second, we stripped down the functionality of the network hub to increase performance and data packet flow-through. Third, we bought an insanely fast machine that could process a lot of information very quickly.
These three elements of the hardware design make the feeling of interacting with the UI of the wall as smooth and responsive as a tablet or mobile device.
Progress
Documenting every step of a project of this scale is a tough job. We had our heads down and moved very fast along the way, but we did come up for air from time to time in order to capture snapshots of our progress.
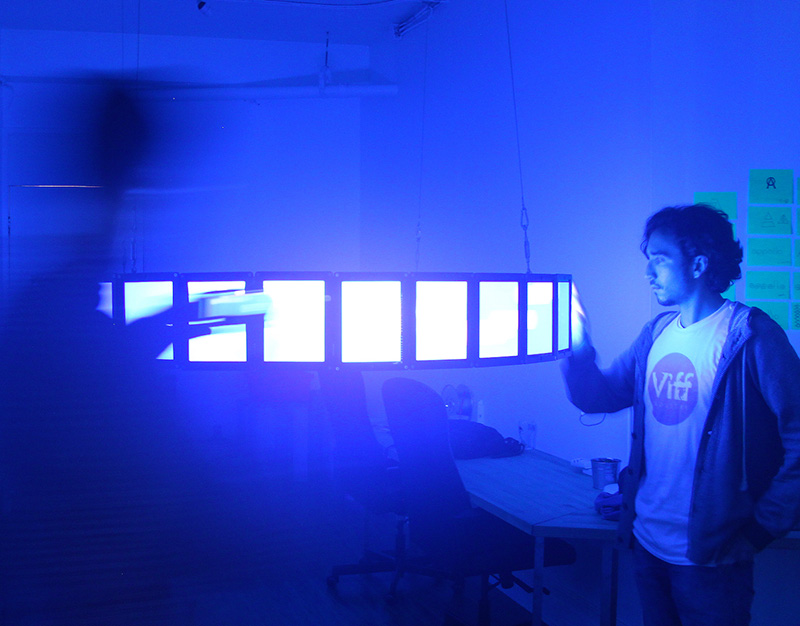
The First Demo
It was early January 2018 and we needed to prove that the technical direction was going to work. Here we have an HID-compliant screen connected to a Raspberry Pi (see the thing dangling precariously on the arm of the chair?) and driving an app. Dragging and pinching both "work".
This was enough proof for us that time, effort, and bigger screens would turn into something awesome.
Testing Windows
In this video, Tim is working on the Record Navigator and testing the movement of windows. You can see a few open records, the browse window, and an experimental version of a video navigation interface.
Even though these look totally custom, they're actually made up of the same stuff that every window on a Mac is made up of... They are customized NSWindow instances.
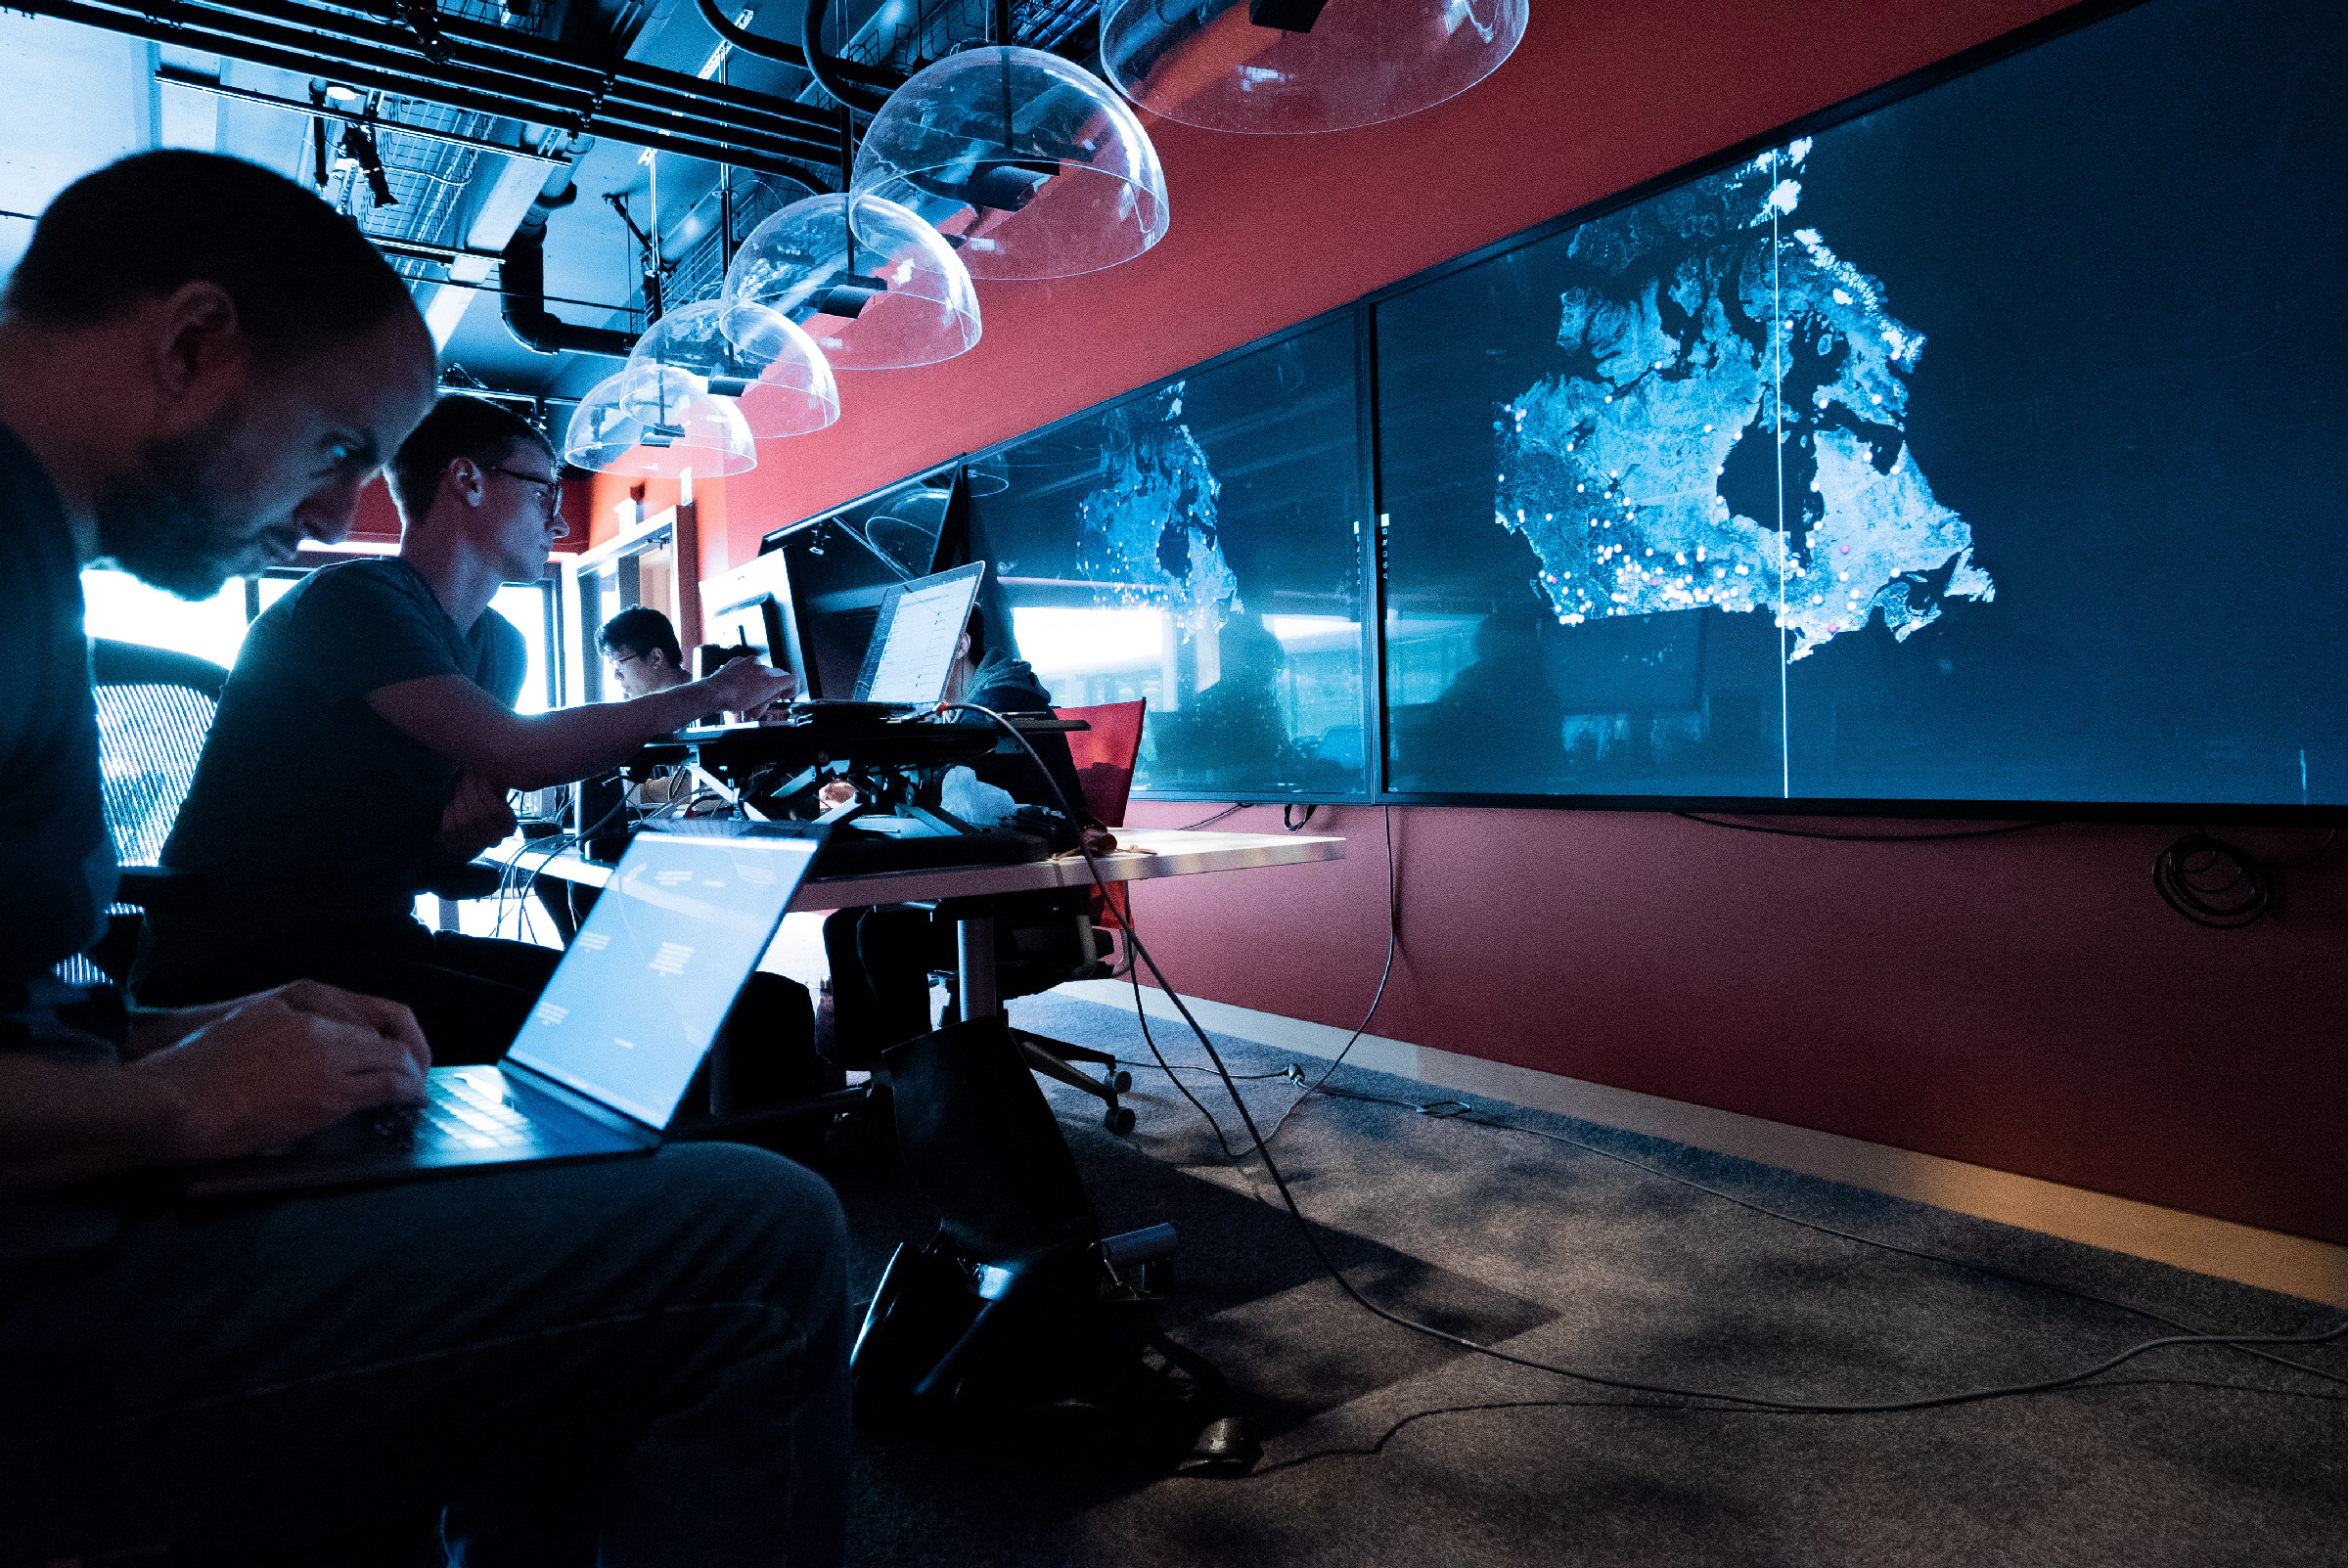
Our Dev Setup
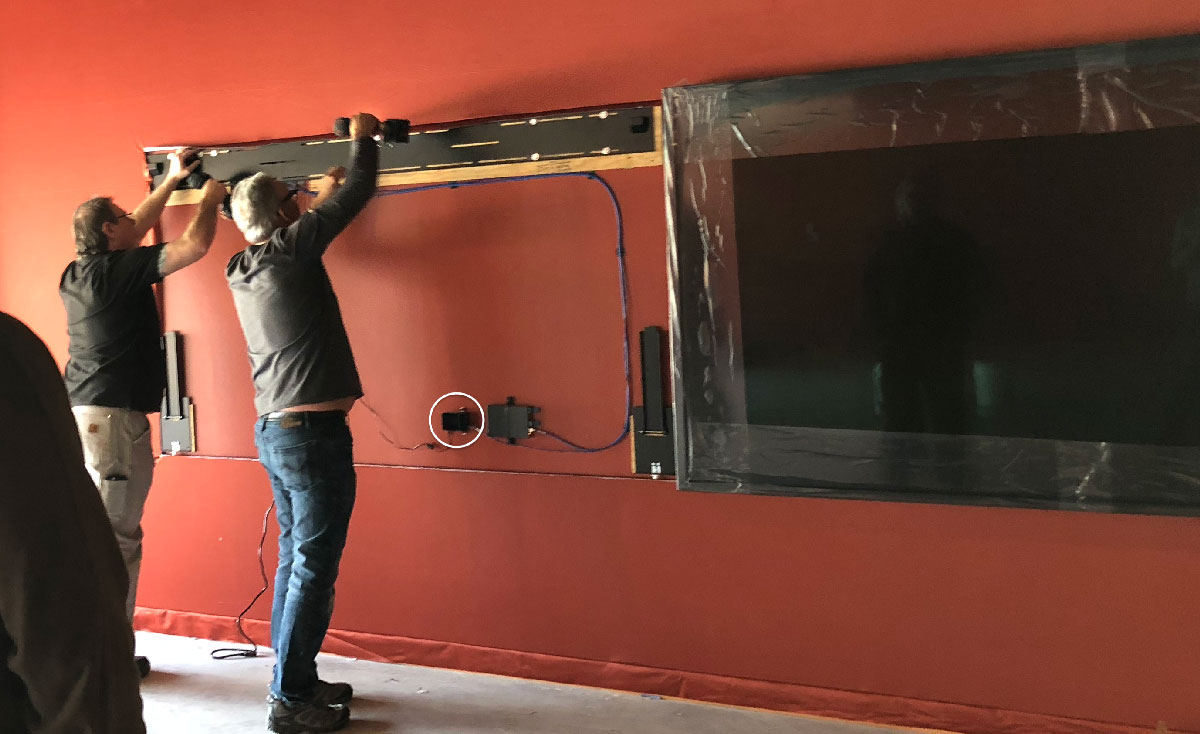
This shot shows some of our team working on the installation circa August 2018. As you can see there is still a lot of work to do on the aesthetic component of the installation. Also, you'll notice a bunch of cables hanging down.
By this time, the computer had been moved into the back storage area where it would be housed. So we had to run cables from our computers directly into it so that we could design, develop and test on the screens.
Testing Physics
These two videos show some user testing of the feeling for both the Record Navigator (i.e. windows) and the Node interface.
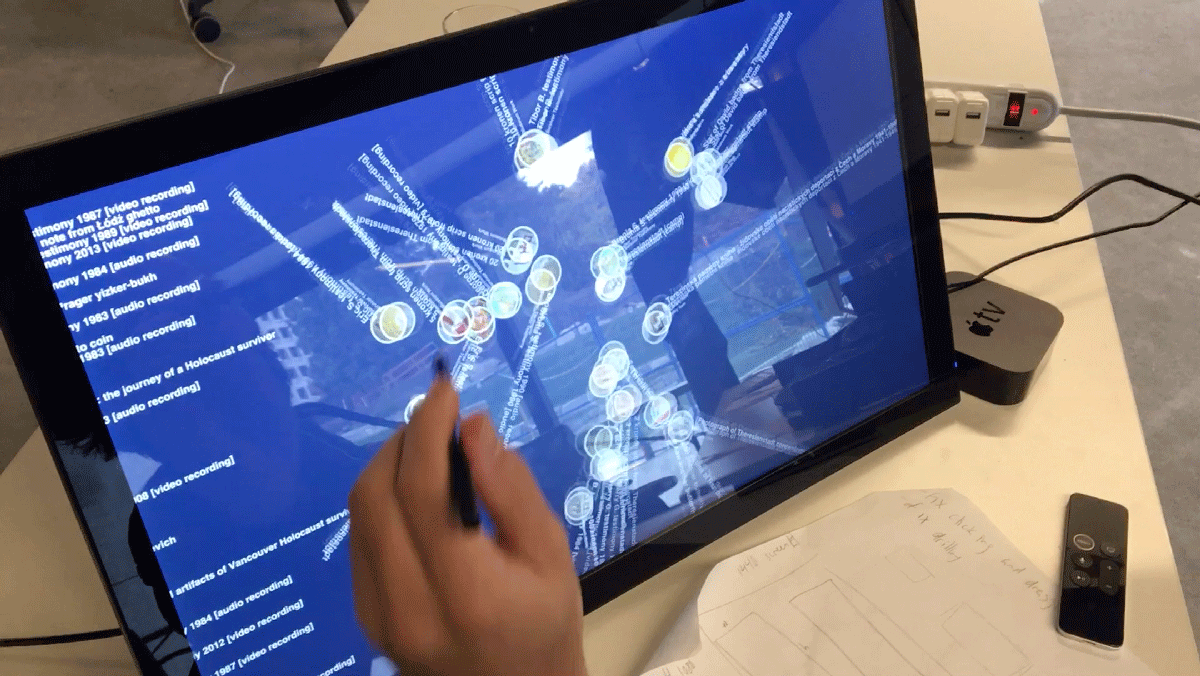
Speed Test
Here's a good one where we're playing with the speed of the Node Interface.
This was a little bit too fast for our liking, but it does give a good sense of the overall motion of the piece – we often tested faster like this to get a sense of how the interface would look over time.
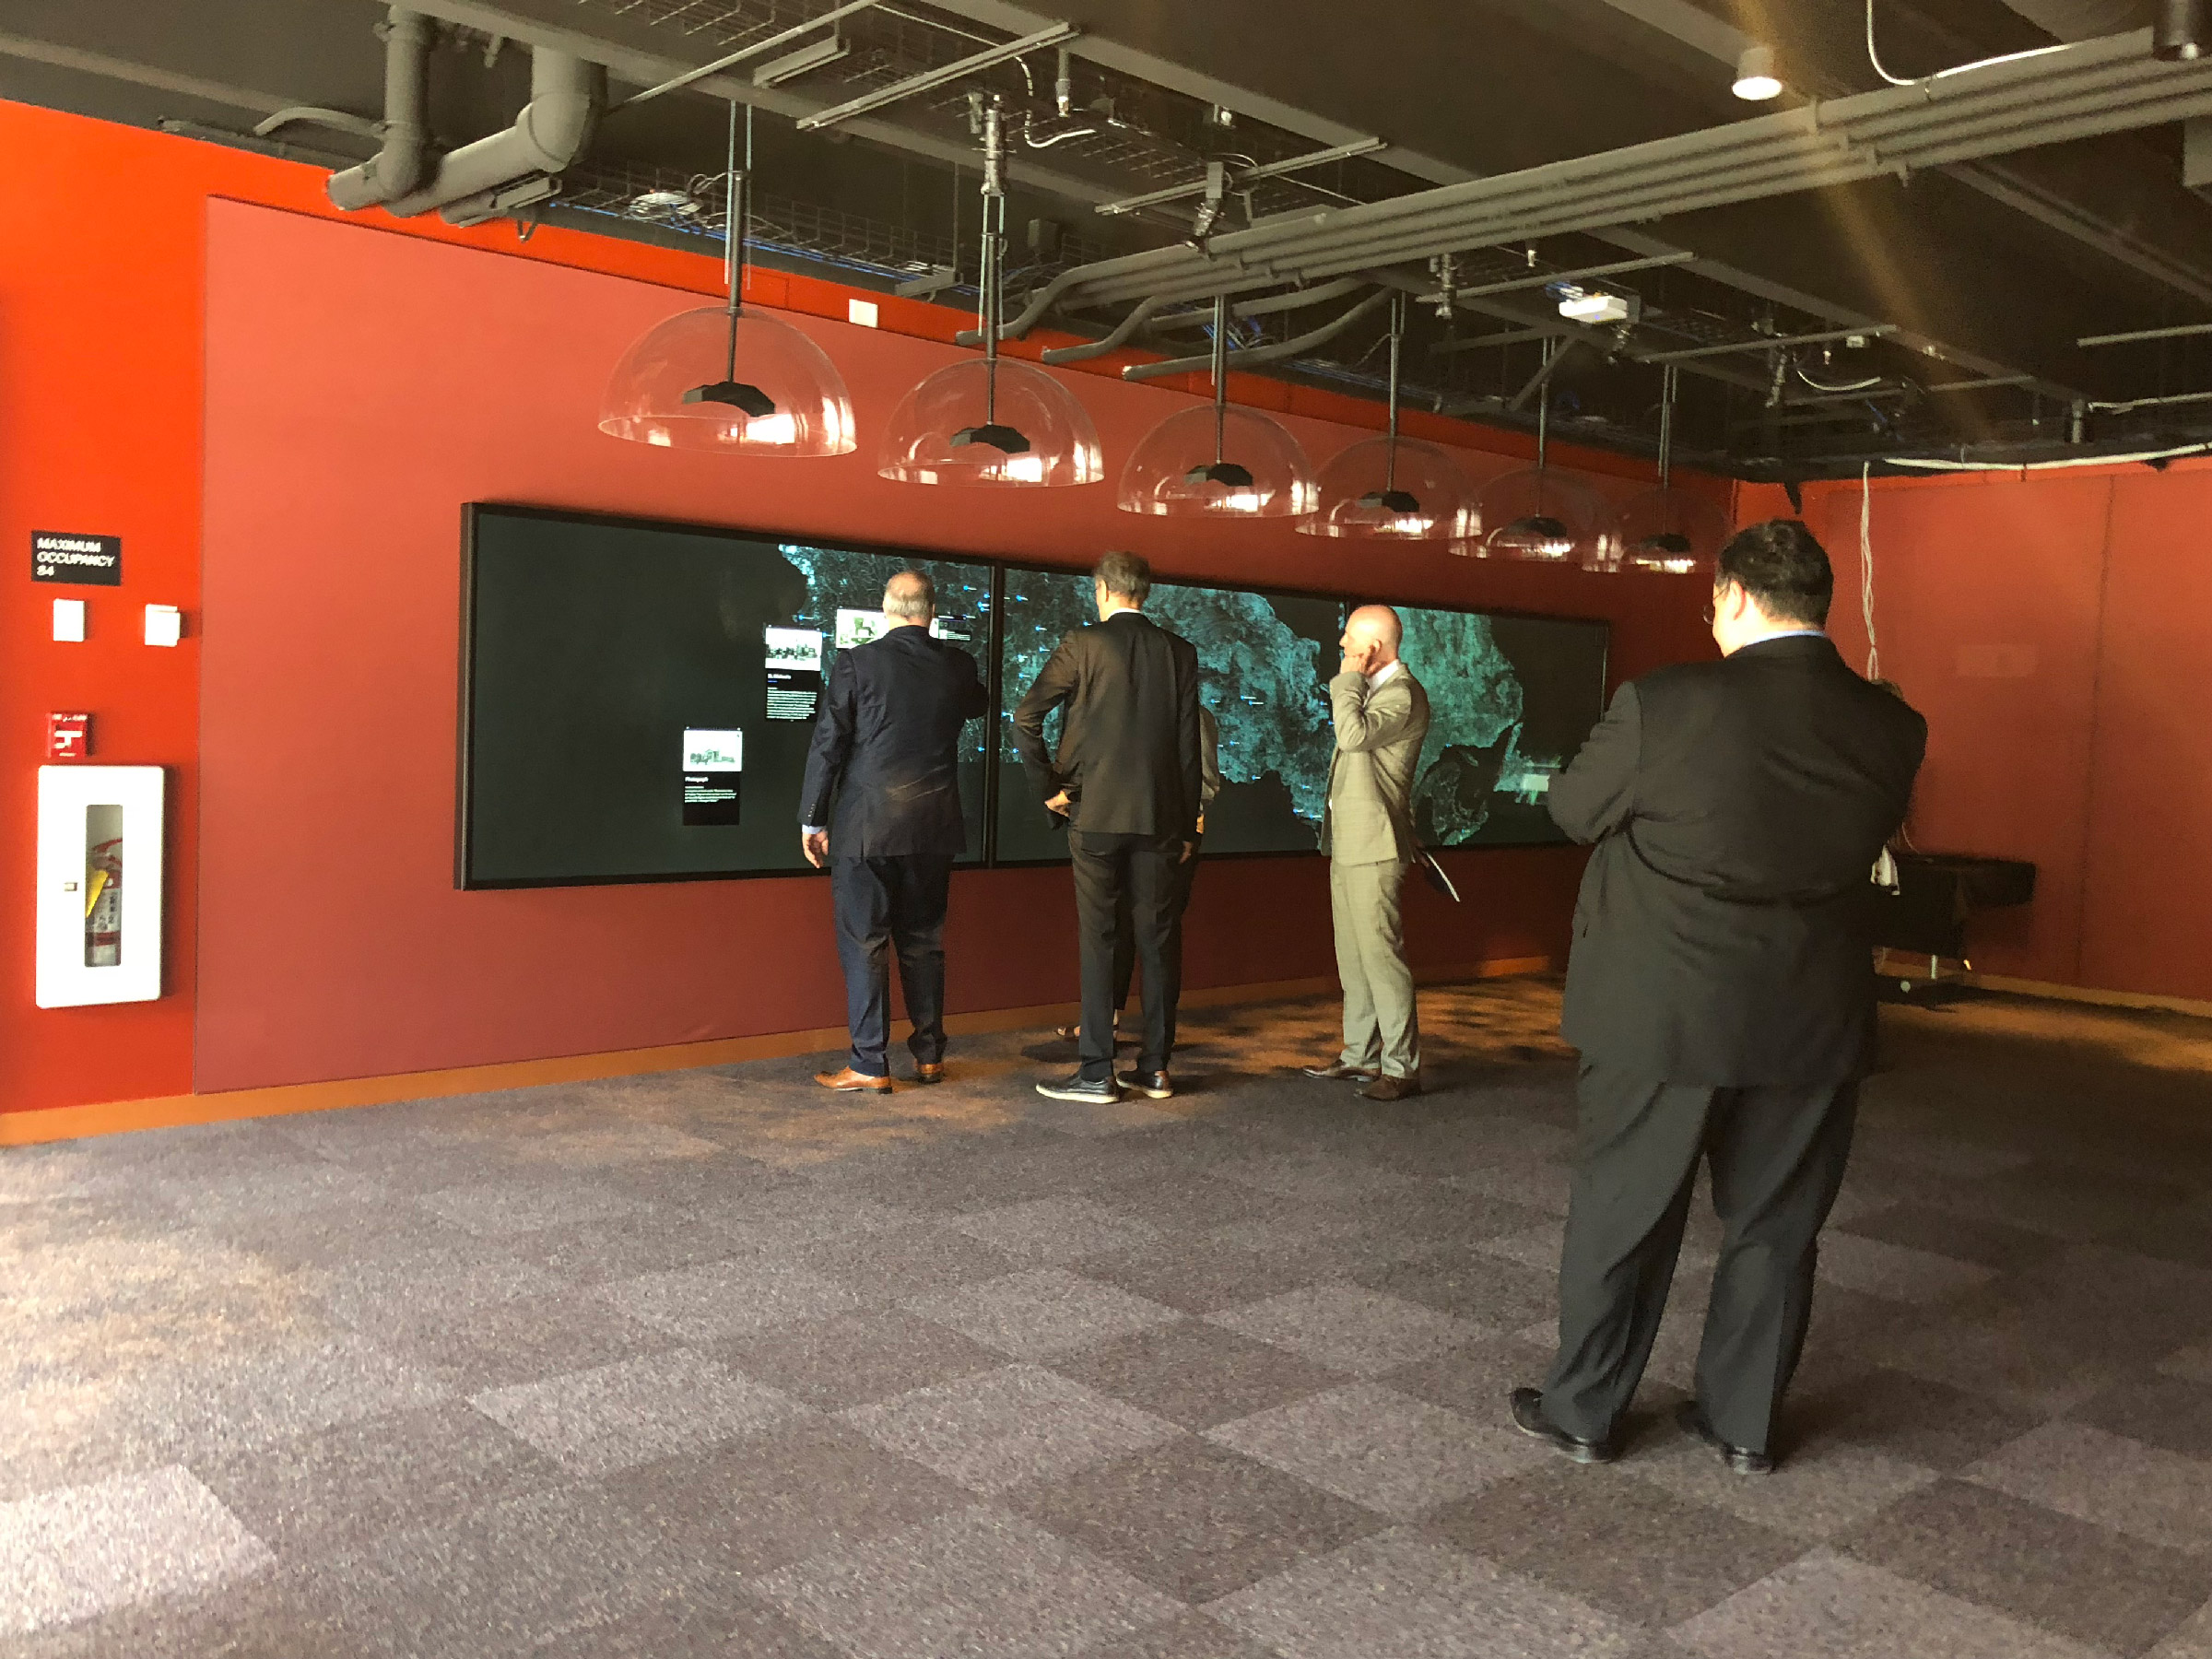
A Few Extra Shots
Here are a few extra shots of the installation and some events. A few are images of our team developing in front of and testing the wall.
There are images of Premiere John Horgan who visited the centre and met with the Directors of the RSHDC as well as the President of UBC.
Another image is of a group of people on a tour of the centre.